
I’ll be honest, I am getting a little ahead of myself here with how excited I am for summer. Summer is my favourite season and I truly don’t feel like a real person until the sun hits my face. The other day the sun was out and it warmed up my car a little and I legit just sat there for a couple minutes and soaked in the warmth. Anyways, I decided to make myself a pair of shorts just to put myself in a good mood and thought it why shouldn’t I post them? The good thing about these is that you can make the pattern out of shorts or pants, but not only that, if you make them out of shorts you can extend your pattern to make pants, and if you make your pattern out of pants, you can fold your pattern up to make shorts, so its very versatile! This pattern is best made out of a light to medium weight fabric so makes the perfect summer short or a (more current) spring pant. This is also a perfect method for pyjama pants as a lighter fleece works perfect for them! Anyways, let’s get sewing!
Supplies and Tools:

- Fabric of choice (how many metres will depend greatly on size, so I cannot give an estimate on how much)
- Thick elastic (I suggest 1 in.)
- Printer paper
- Thread
- Sewing machine
- An existing pair of shorts or pants that fit you well
- Pins
- Fabric scissors
- Iron
- Measuring tape
- Seam ripper
Making Your Pattern:

Step 1:
Tape four pieces of printer paper together to make a large sheet. Repeat so you have two.
note: if making pants instead of shorts, you will need to extend lengthwise using more paper to account for the length of the pants.

Step 2:
Fold your existing shorts so that the backside faces outwards and place flat on the paper. Make sure they are not bunched at all, and the seams are straightened.

Step 3:
Trace around the shorts using a pencil.
note: if your reference shorts already have an elasticized waist, make sure to extend the top of the shorts to allow room at the top. see how near the waistband on my reference photo, the tracing is wider than the actual shorts.

Step 4:
Remove the shorts from the paper, your pattern should look something like this.

Step 5:
Using a measuring tape, measure a half-inch seam allowance on either side and trace it.

Step 6:
Measure and trace an inch long seam allowance from the bottom to allow for a half-inch hem.

Step 7:
Measure and trace a seam allowance of 1in+ the thickness of your elastic along the top (my elastic is 1in thick, so I am measuring a 2in seam allowance). You can now cut out this pattern piece and label it as your back panel.

Step 8:
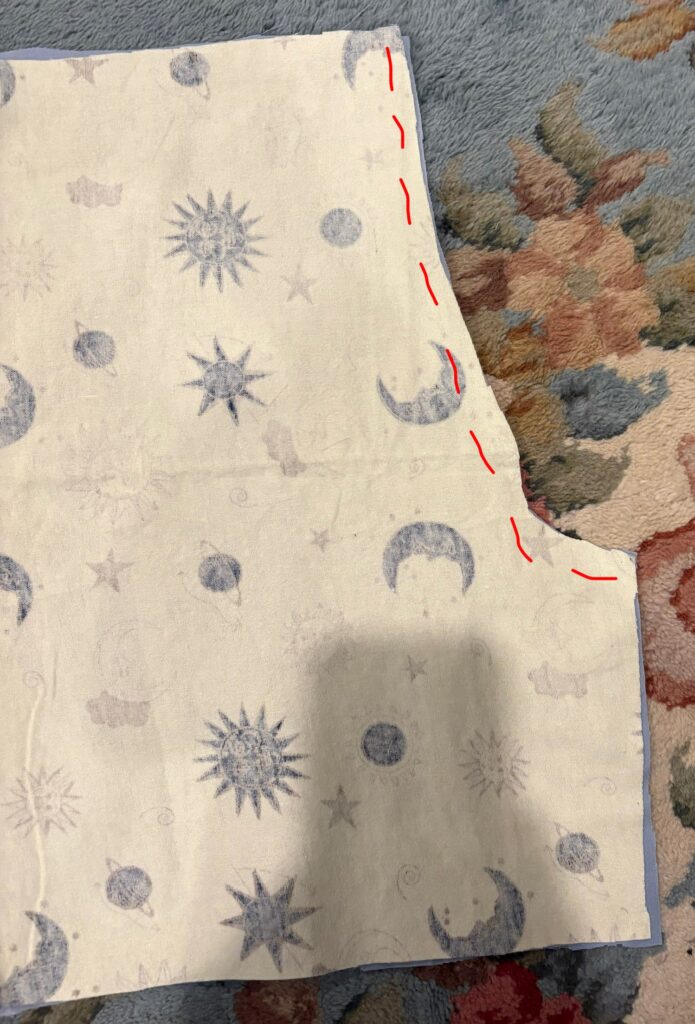
On your second piece of paper, lay your shorts down this time folded with the front side out.

Notice that when folded front side out, the fabric extends past the inner seam, this is because pants are larger at the back.

Step 9:
Fold in your shorts at the crotch seam so that they end at the visible seam. Repeat steps 3-7 to create your front panel piece.
note: if your reference shorts are of a heavier or thicker material like denim, you may need to weigh your shorts down to prevent movement.

Now your pattern is complete and we can start constructing the shorts!
Sewing Your Shorts:

Step 10:
Cut out each pattern piece twice (mirrored*). For more distinction between pieces for this tutorial, I’m making my shorts with two different types of fabric. You’ll see if you place your pattern pieces on top of each other, the front pieces will be shorter and the crotch seam will come to a point slightly higher.
*mirrored means that you cut one piece with the pattern right side up and once with the pattern right side down, so that the two cut pieces of fabric mirror each other.
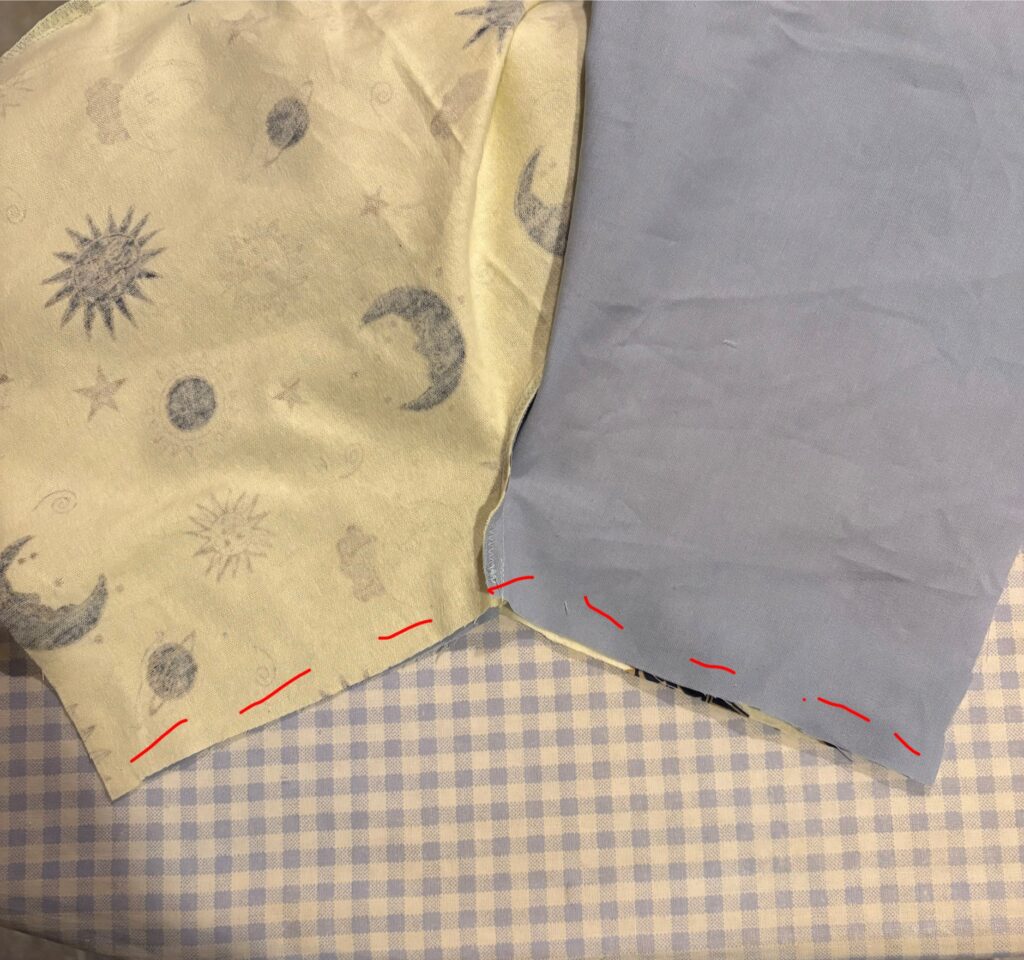
Step 11:
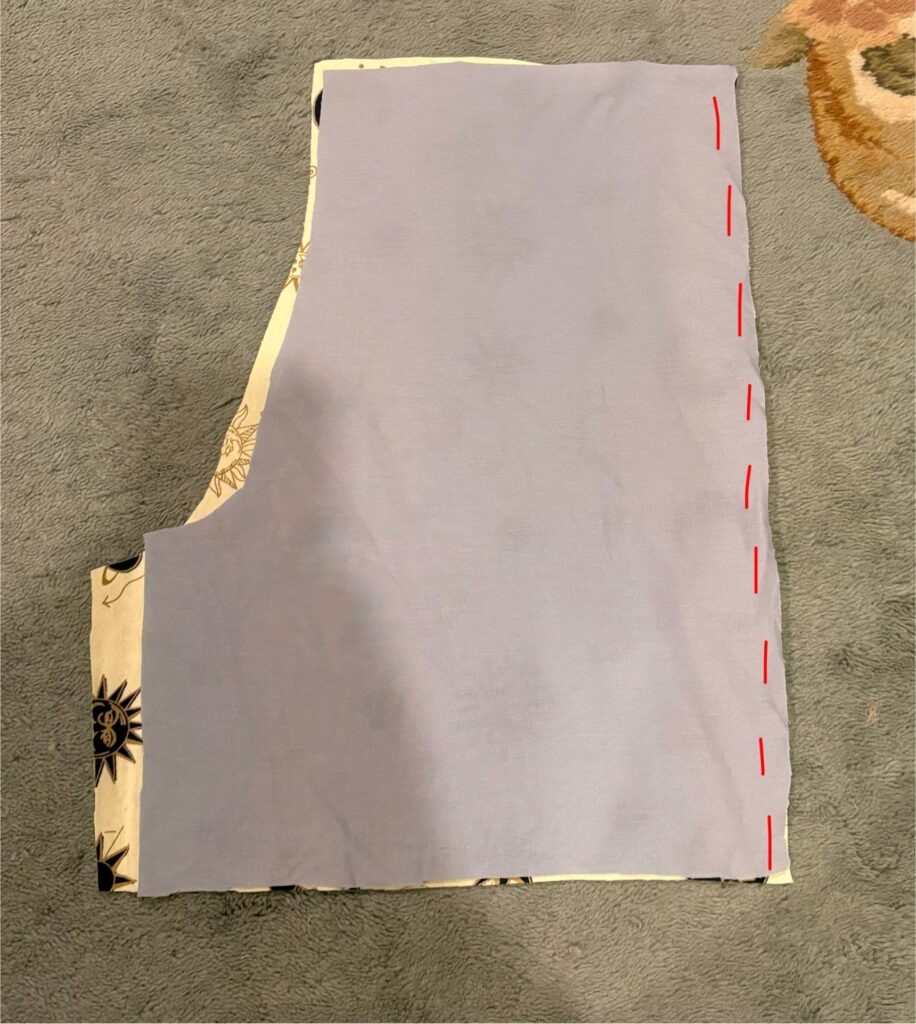
Place one front and one back piece right sides together and stitch along the straight edge with a half inch seam allowance, making sure to finish your seam with a zigzag stitch afterwards. Repeat with the other two panels.
note: red lines represent stitch lines for the tutorials sake.
Adding a Pocket (optional)

Step 1:
Cut out two rectangles, with one being longer than the other and stitch them together along the sides and bottom leaving the top open and longer on one side.
note: I measured my pocket using my phone as a reference so that my pocket would fit my phone perfectly.

Step 2:
Place your pocket with the taller side of the pocket up on the inside of your shorts.
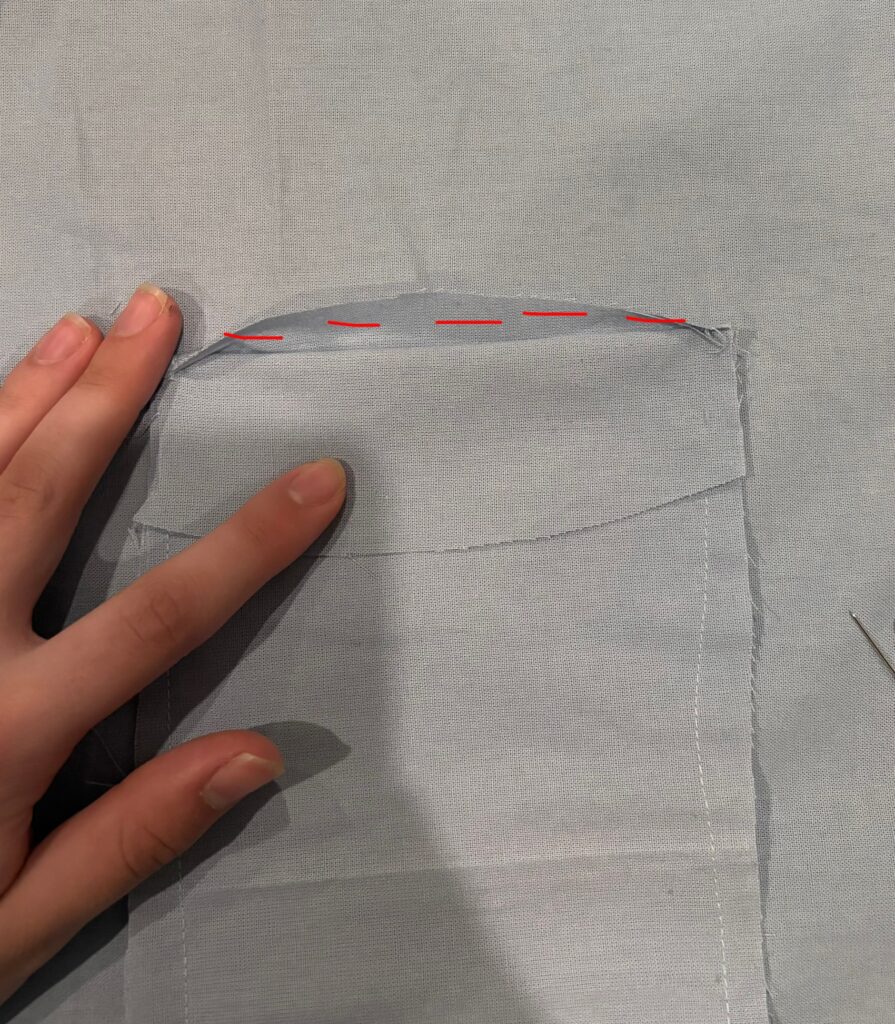
Step 3:
Fold the longer side down and stitch the shorter side to the inside of your shorts, being careful to not catch the backside of the pocket.

Step 4:
Once stitched, place to pins on either side of the pocket as shown.

Step 5:
Insert a seam ripper into the fabric at the pin on one side and rip along your pocket seam until it meets the pin on the other side, the pins keep your from ripping too far accidentally.

Step 6:
Making Bias Tape:
Cut two pieces of fabric, roughly three inches wide and slightly longer than the length of your pocket.

Step 7:
Fold the two edges in and iron.
Step 8:
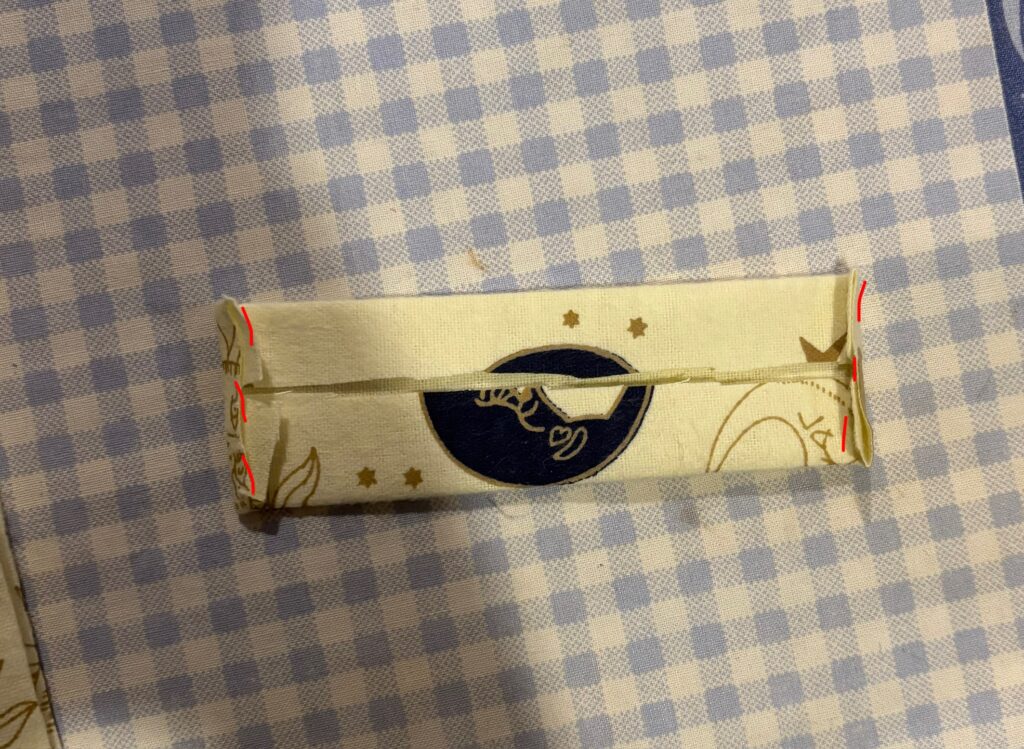
Fold in the top and bottom edges in to be the length of your pockets and stitch.

Step 9:
Fold in half and iron.

Step 10:
Place your bias tape on either side of the raw edges of your pocket like a hotdog and stitch along the top edge through all layers of fabric. Repeat with the bottom, however making sure you are only sewing through the front of the pocket and panel pieces, leaving the pocket open.

All done!
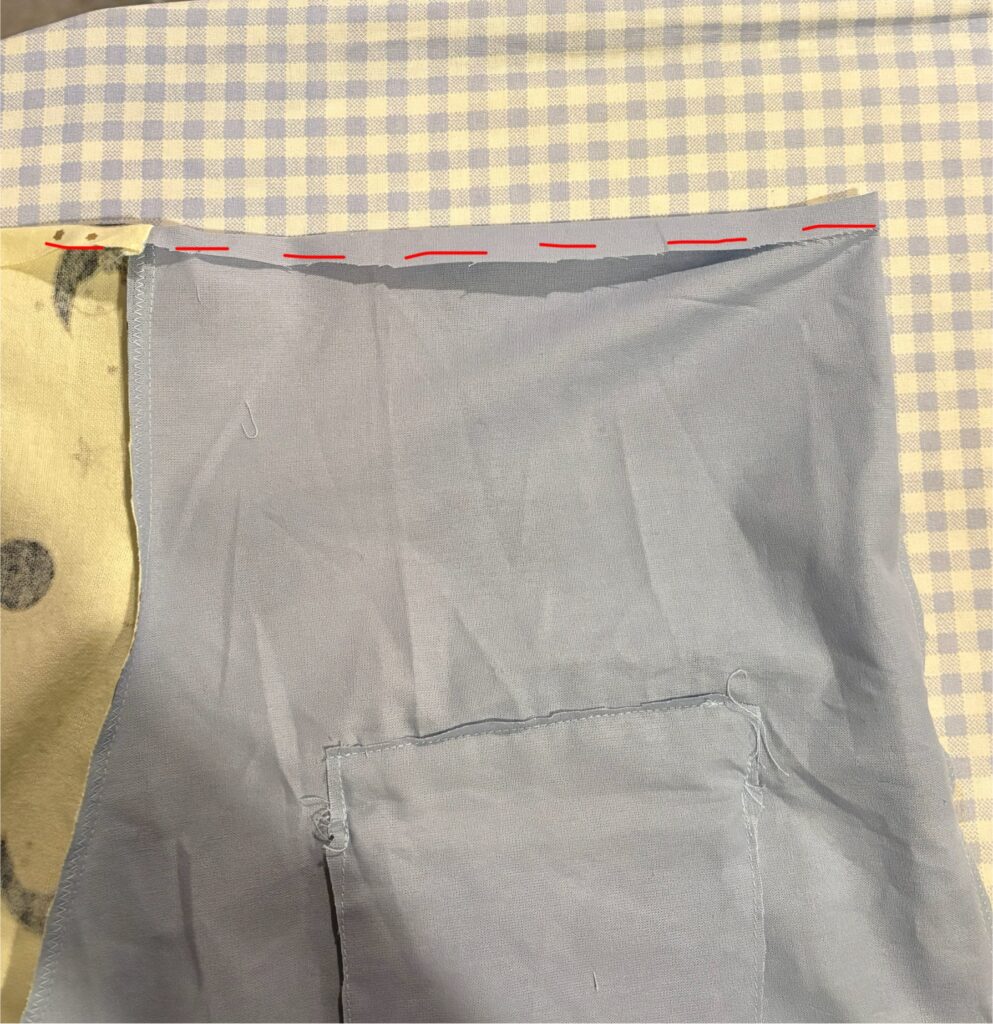
Step 12:
Open your panels and lay them on top of each other right sides together with the front and back pieces lined up along the side and crotch seams. Straight stitch along the sides until you meet the crotch seam, finishing your raw edges with a zig zag stitch. Repeat for the other side.
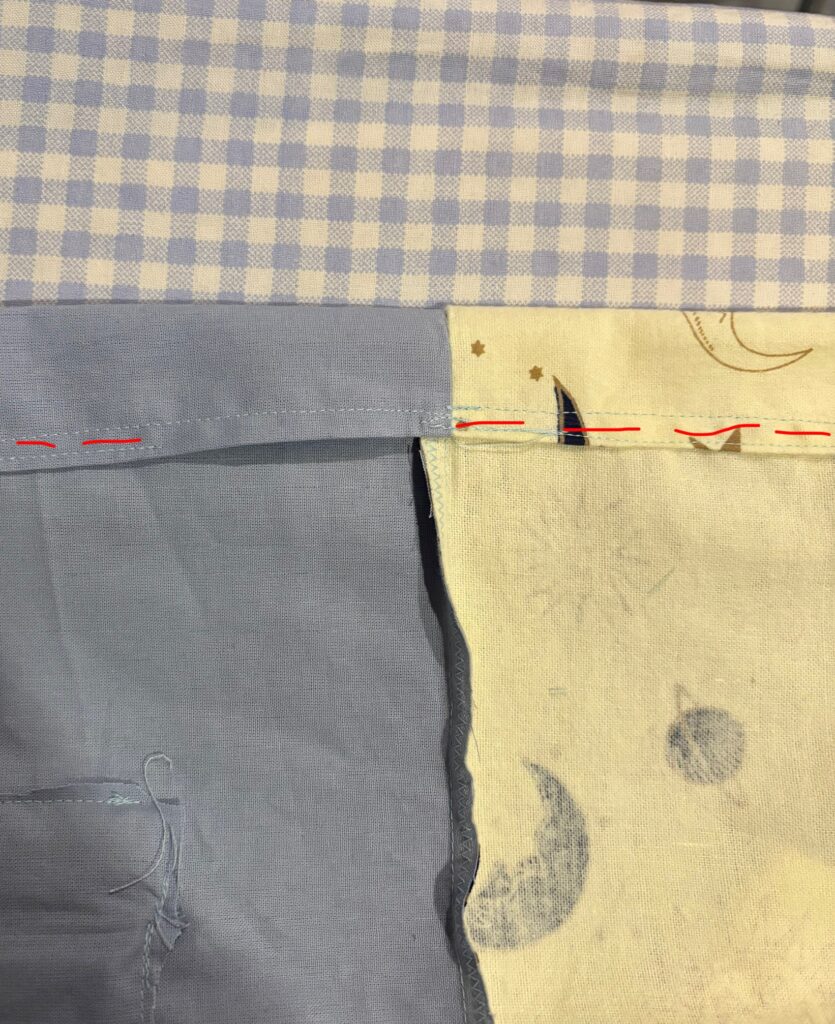
Step 13:
Lay your shorts down with your newly stitched front and back seams in the centre. Line up your crotch seams and your legs together and straight stitch from the bottom of one leg across the centre seam and down the other leg, finishing your seam with a zig zag stitch.
Step 14:
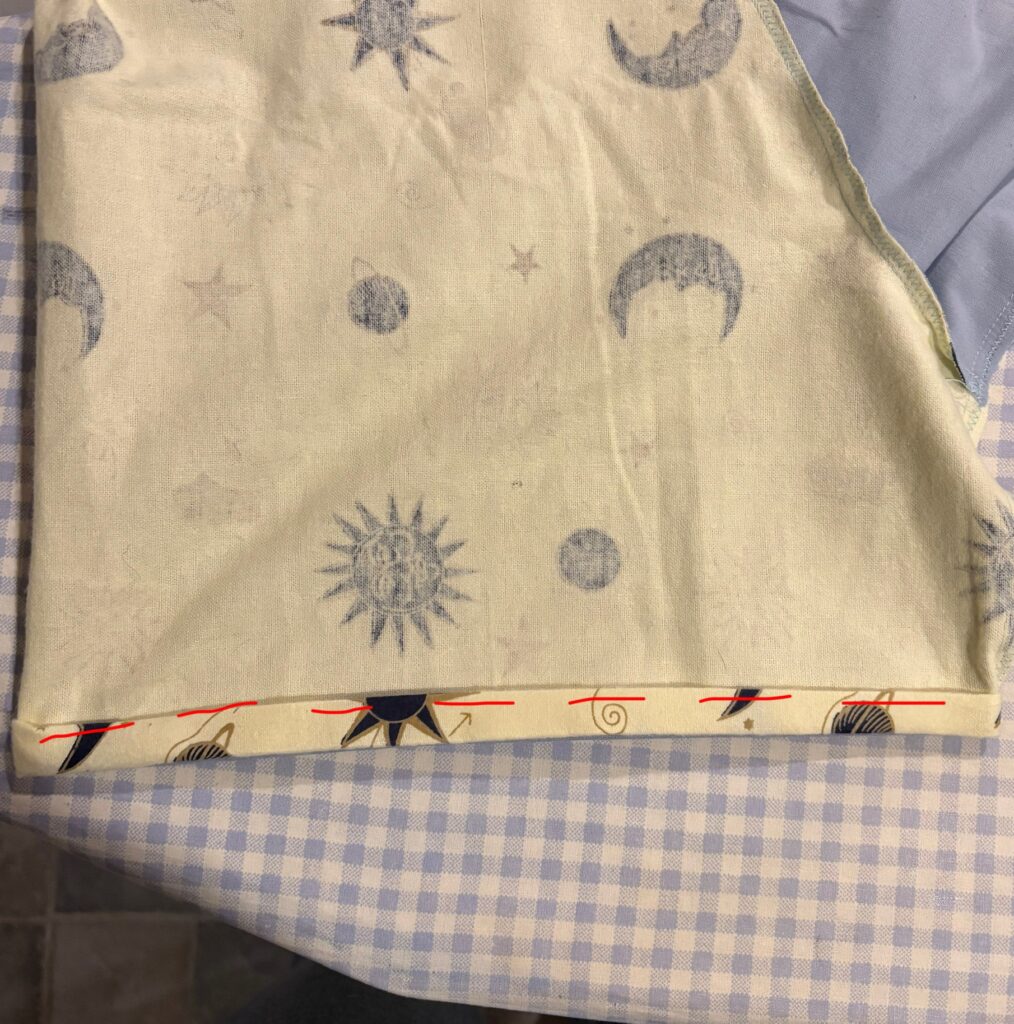
Hemming your Shorts:
Fold up the raw edges of your shorts by half an inch twice, so that your raw edges are tucked in and straight stitch along the top edge all the way around the leg. Repeat for both legs.
Step 15:
Creating an Elasticized Waistband:
Fold the raw edge along the top of your shorts down once and straight stitch to hold it down, this stitch will only be visible from the inside of your project.

Step 16:
Fold down your waistband by enough to create a channel for your elastic.
Step 17:
Stitch along the bottom edge of the channel, making sure to leave a fairly large gap to feed your elastic through.

Step 18:
measure your elastic by wrapping it around your waist, making sure to stretch the elastic slightly whilst doing this so that the elastic stretches around you while your wearing the shorts to stay up, but isn’t so tight its uncomfortable. Cut your elastic to this length and attach a large safety pin to one end.
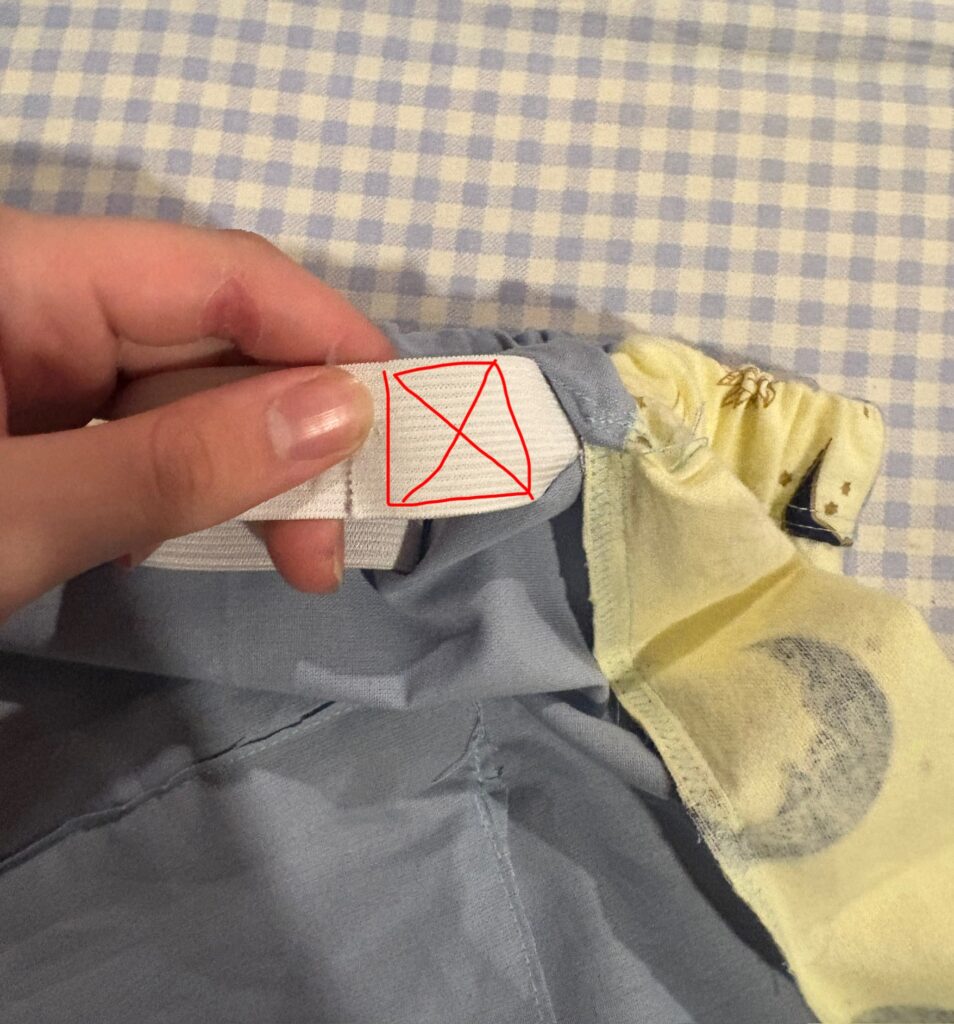
Step 19:
Using the safety pin, feed the elastic through the channel. Once through, attach the two elastic ends using a square and X so that it doesn’t come apart while stretched. You can then sew along the part of the channel that was left open to finish the waistband.

And there you have it! Some cute, simple shorts with an elasticized waist! Perfect for a lovely, warm summer day.
As per usual, thank you so much for reading, and if you make these shorts please send me a picture! I’d absolutely love to see your creation!
One response to “The Easiest Way to Sew a Pair of Shorts or Pants”
Awesome I can’t wait for summer ! Great way to bring some early sunshine !